I tend to document my projects (more than my like, "for fun" art) because they tend to have a lot of work put into them. There's also my professors who want me to have a "process" or...whatever.
Anyhow, this post contains a ton of images, so buyer beware.
Idea Generating and Sketches
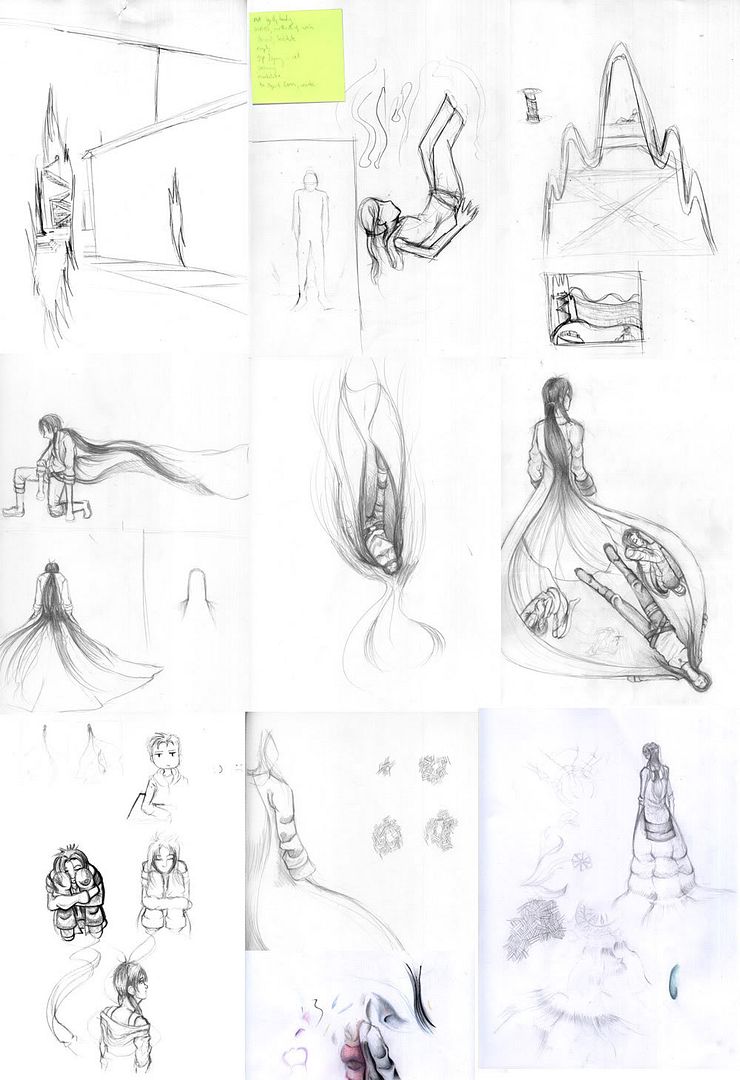
(Close up)
This stage starts with getting the word "void" from my professor. I just doodled around with the physical idea of a void before writing down synonyms to explore the idea more. I then spied on my friend Jiaqi's sketchbook and saw her drawing a person, so I proceeded to work with figures.
Eventually the idea wound it's way to my character, Tati, and I seriously just sorta drew the sixth image in there. The idea gained clearance from my professor, so I sketched some more things, toyed with fabric folds, and did a bit of color experimenting.
Colors
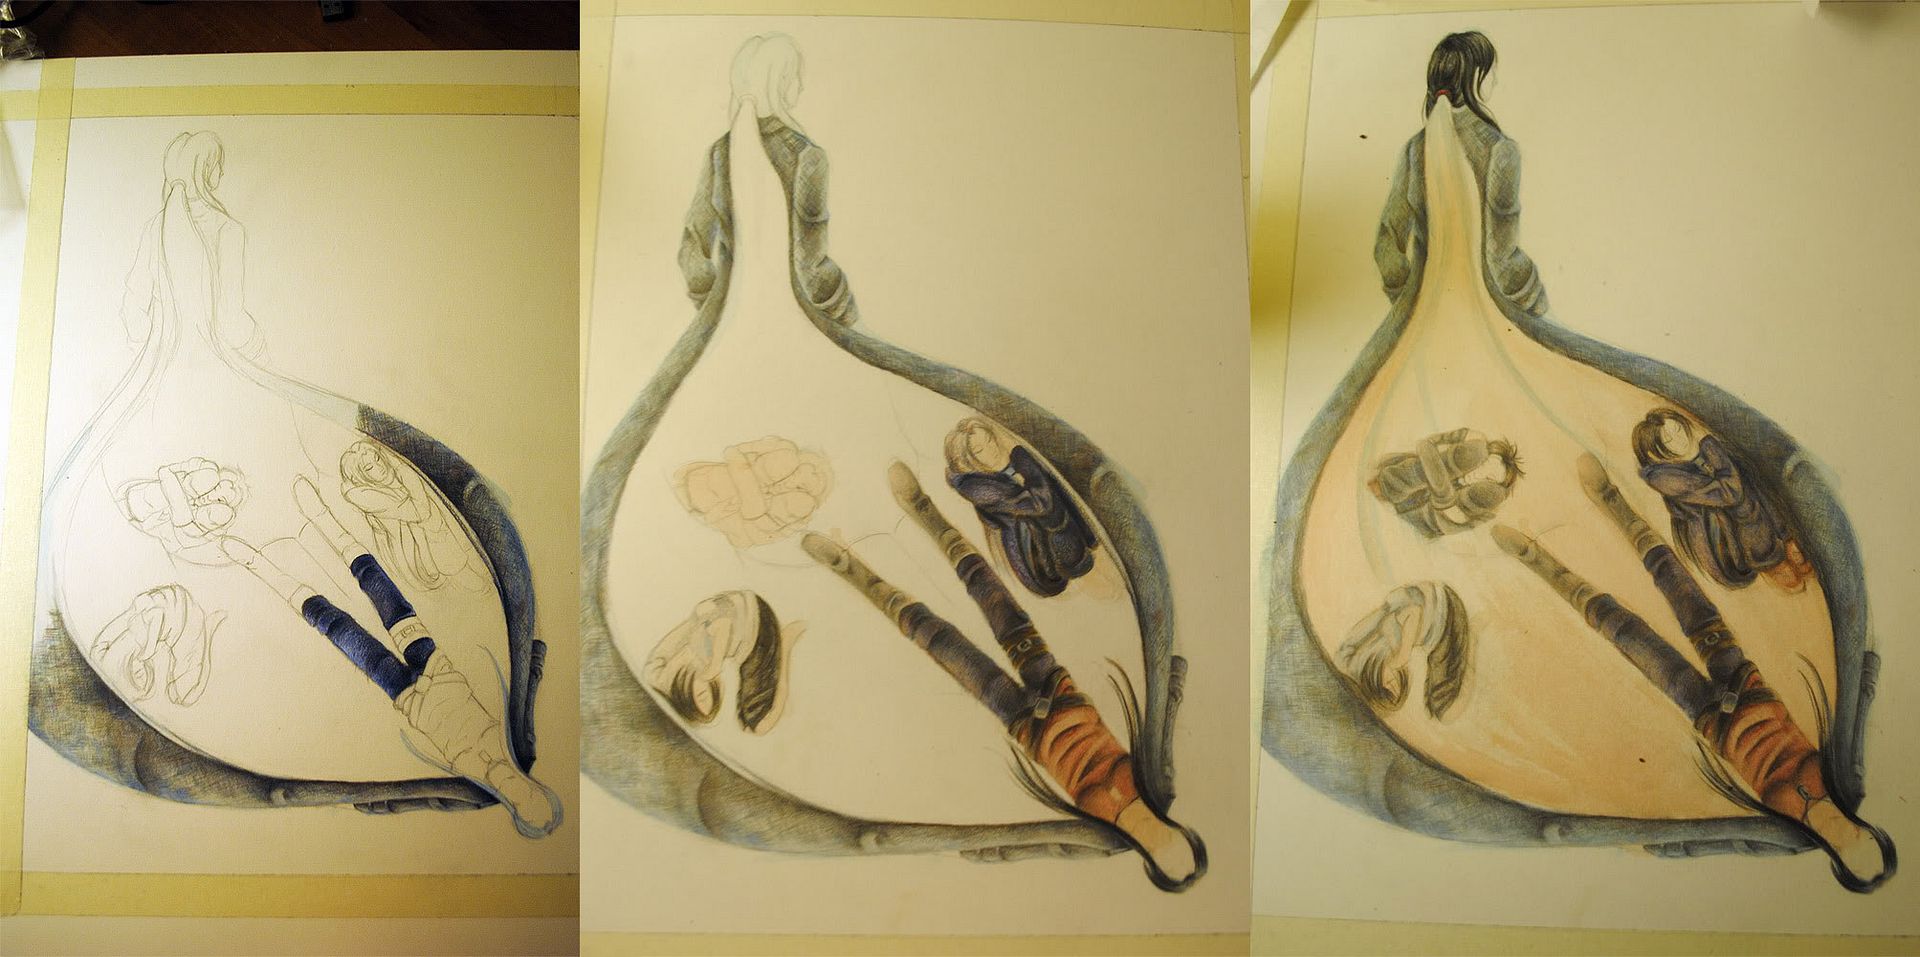
(Close up)
For this project, I decided to use colored pencils, acrylic paint applied as a wash, and pencil. The colored pencils weren't meant to be the main color agent, but they ended up that way. I actually used Prismacolor Verithins, a harder colored pencil that is meant to be used for clean edges and the like. But since they aren't as creamy-smooth as the Prismacolor Premiers, they don't blend and don't get muddled up.
A wash of burnt sienna was put on the inside of the jacket with cerulean on the outside of it. After the colored pencil stuff, I built up the pencil and paint with some minor touches of color.
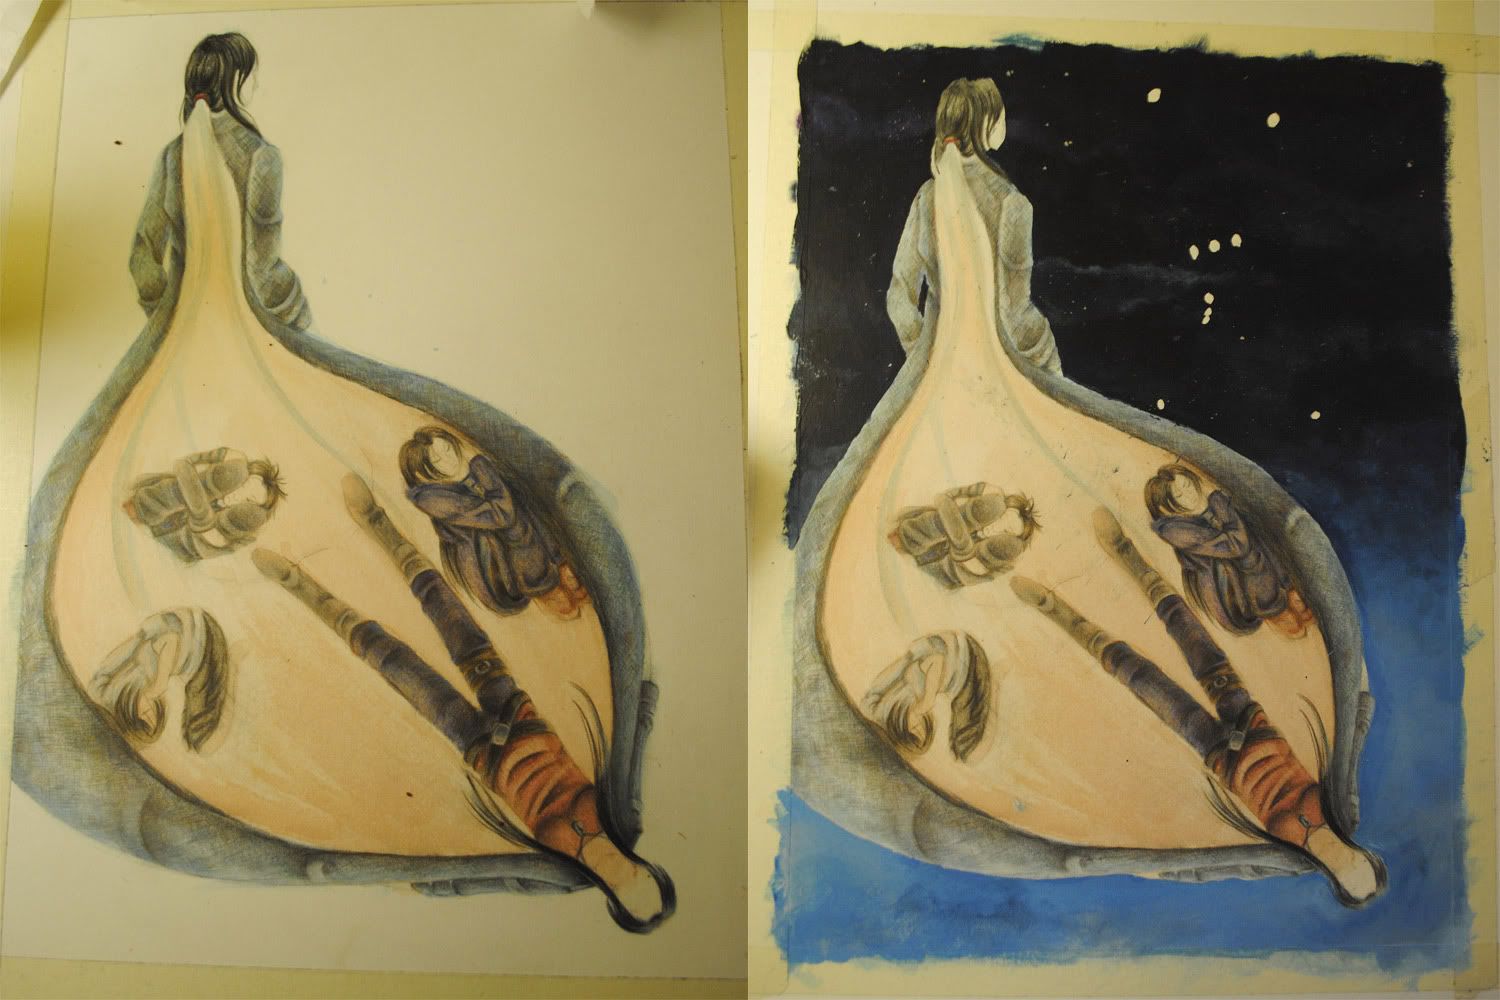
(Close up)
There's this stuff called frisket that smells really bad and is something you paint over areas you don't want to paint later. I put that around the edge of the figure before painting in the background, along with the dots in the sky (meant to be the constellation Orion). Once done with painting, the frisket peels right off, leaving the area it covered clean.
Finished Product
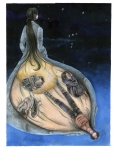
And that's that.