So, now, let's get to know more about the toolbox before we proceed to the 'layer,channel,path,undo history' box.
Credit: MIKUxMIKUO
1A The Rectangle Select Tool (R)
-helps you to choose rectangular region. I usually use this tools when I create e-card. When you choose this tool, you'll see some options in the empty space underneath the tools. You can choose feathery edges, rounded corner etc.
2A. Scissor Select Tool (I)
- Another tool you can use for rendering an image. It choose the shape independently by selecting the region by detecting the edges through colors. It's not really the idea tool thou, cause it'll leave a jagged lines.
3A. Measure Tools (Shift+M)
-I rarely use this tools, but it's a good tool if you need to measure fixed distant between objects in your works.
4A. Scale Tool (Shift+T)
- Scaling tool, XD what else?
5A. Bucket Fill (Shift+B)
- Fill an entire page with your color/pattern selection. Thou, it won't look good if the page had an 'uneven' color region.
6A. Airbrush (A)
- A coloring tools which makes the color looks a bit lighter than paintbrush.
7A. Blur/Sharpen Tool (Shift+U)
- Blur or sharpen a region manually instead of using the filter blur in 'FILTER'. The options is also positioned on the empty space.
1B. Ellipse Select Tool (E)
- You can choose any circular shape with this tools. This also came with feathery edges etc.
2B. Foreground Select Tool.
- I haven't fully understand about this tool yet, so I'll update later. >D
3B. Move Tool. (M)
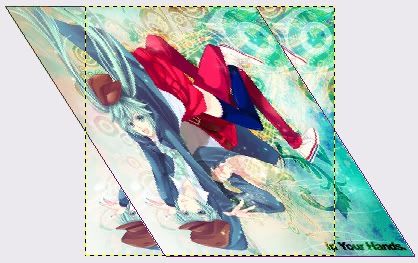
4B. Shear Tool (Shift+S)
- This is how your image ended up if you used this tool.
5B. Blend Tool (L)
-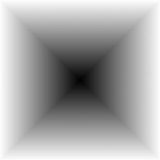 The image will look like that! :D
6B. Ink Tool (K)
- To produce calligraphy-style like lines/painting.
7B. Smudge Tool (S)
- Smudging tool of course. I used smudge tools for the hair and the eyes in my artworks.

1C. Free Select Tool (F)
-This is the tool that I used for rendering an image, ie this render. 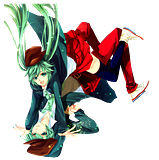 .
.
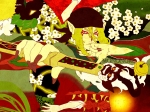
2C. Path tool (B)
- This is the tool you use to create linearts for for artwork or anything.
I used this tool to create lineart for this wallpaper;
3C. Align Tool (Q)
- Not sure how this one work but I'll be sure to update it once I find out.
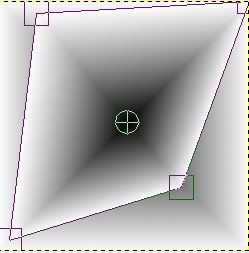
4C. Perspective Tool (Shift+P)
- You can manipulate the edges of an image like this one.
5C. Pencil Tool (N)
6C. Clone Tool.
-The magical transformation!
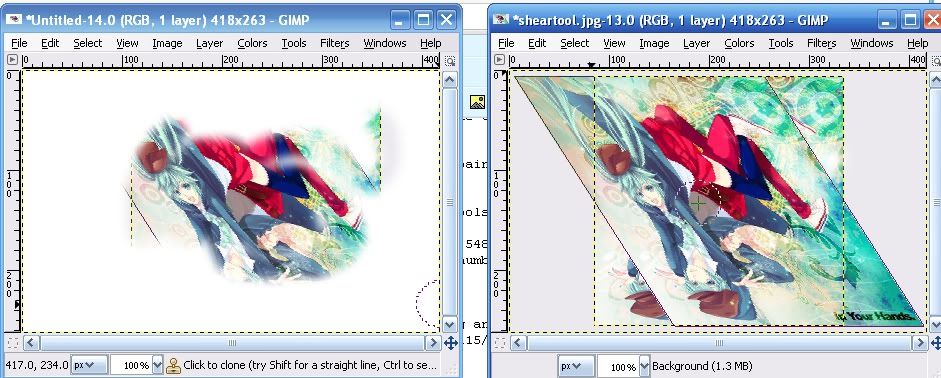
Now did that happen??? XD I'll tell you more after this slight introduction!
7C. Dodge/Burn Tool.
-Helps you to create dark/bright region on an image.
And we'll continue these slight intro in part 2.
