Some days ago, kie asked me to make one of drawings to be a wallpaper. And here's the result...^^'
I played with textures a little bit.
I hope you'll like this kie!! :D the color is kinda unseen, so I'm really sorry about that.
This is kie's art, before editing...

And this is after editing.
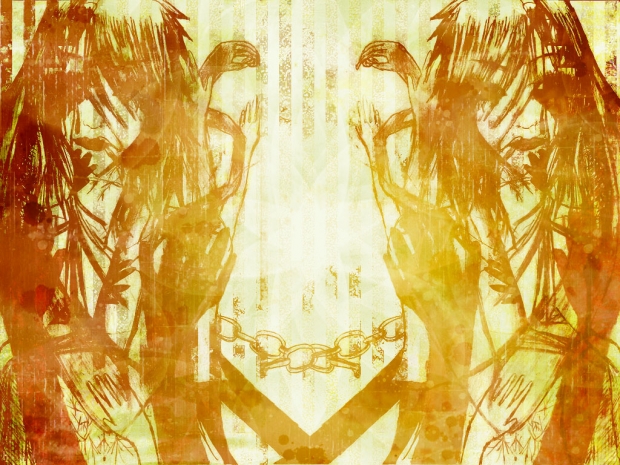
Do it look good everyone? 
 all credit goes to kie!
Well, I've been trying to make some textures or backgrounds by myself... They don't turn out as well as the ones I downloaded from sites, but still it's okay 
I just want to share them with everyone... Here's the first one.
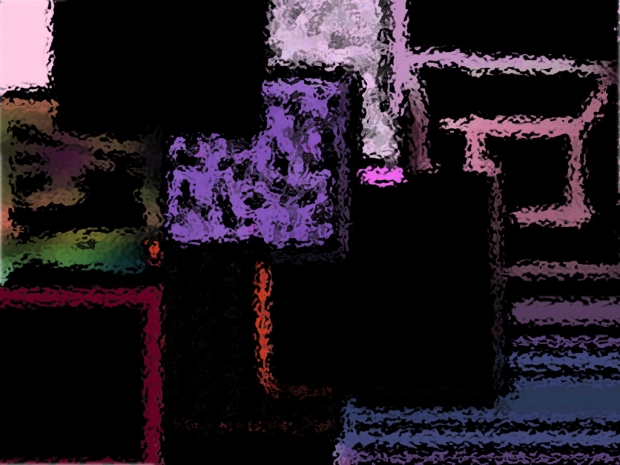
I hope you'll like it!!
If used, please give credit and if you don't mind, PM me the link in which you've used it.
Thanks!
Hello everyone!! 
 today I posted this one to tell you about my way in editing pictures. Of course, there are also lots of alternatives, but now I want to talk about my favorite way...
You may notice that almost all my wallpapers' pictures have some sort of glowing effects. It is actually simple to make such effects. Although it isn't difficult, I think it really boosts up the whole wallpaper.
Now, here's the step.
1. Prepare the image file. To make it easier, ensure it's not in background layer. If it's dim, leave it be. If it's bright, adjust the brightness and contrast. Increase the contrast and decrease the brightness by around 20.
2. Copy the layer of image by pressing Ctrl + J (or right-click in the image layer and choose Duplicate Layer).
3. Now you should have Layer 1 and Layer 1 copy. In Layer1 copy, change the blending mode to screen (blending mode is located in layer window, the default setting is normal). Then, Filter --> Blur --> Gaussian Blur and make it around 7 (I usually use 7.5).
4. Merge layers using Ctrl + E.
Above is only the basic steps that I mainly use. I will list the additional steps too, but it is not really necessary unless the image is in low resolution.
Continue from step 3 (don't follow step 4 yet)
1. Look closely at the image. If it's still not bright enough (or the image is still not clear because of the low resolution), copy Layer 1 copy continuously until it is bright or clear enough.
2. Then, Layer --> New Adjustment Layer --> Curves. Click OK, then you'll see Curves window. Drag the straight line in different points to adjust aspects of the pictues. Then, press OK.
3. DON'T merge the images, or you won't get the result.
That's all  I hope I wrote it clear enough for you to understand. Comments/questions are very greatly appreciated
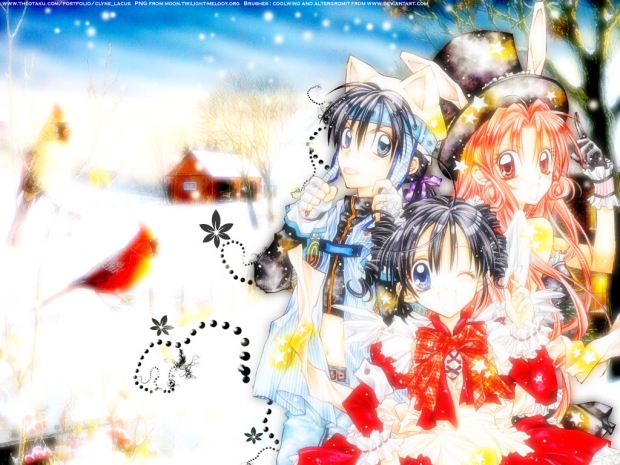
This one is really simple. I just combine the PNG with photographs. Each of them is edited like above steps. I usually just add the effects in PNG, but I think photographs doesn't have any anime style and it looks a bit weird if combined with anime pics. That's why I decided to add the effect on BG as well, and it came out like that.. I personally like it very much!! ^^
Hello everyone  this is my first post ever here after changing this world's name. As I promised, I will guide you all into the world of making wallpapers
Anyway, this time I just want to talk about the easiest step a.k.a finding resources  of course, Photoshop itself has already provided some good stuffs, but there are lots of wonderful resources you can find on the net.
Here is my sites of recommendation :
http://www.aethereality.net
http://kuusou.hayalkarga.com
http://owaranai-kiss.net
There are still plenty of them. You can click on each sites' affliates. From these sites, you can download some stuffs, they are :
1. PNG : this is the image file. What makes PNG special is the background is already transparent, so you don't need to bother cutting it. Very few PNG still has background, but it can be easily cut either.
2. Brushes : the common format is .abr. Brushes are also VERY important. You can add snow, flowers, etc to your wallpapers. All you have to do is copying the .abr file to Adobe Photoshop --> Preset --> Brushes folder.
3. Textures : this is important to avoid any "just-ordinary" looks on your wallpapers. No one will possibly want their wallpapers to look dull or plain, right? Here's the solution. Textures can be used as mere backgrounds, or for more variation you can combine them by changing their blending mode.
I hope I did alright in explaining things. If anything you feel hard to understand, please leave a comment or PM me. I would be more than happy to explain it elaborately for you 
Thanks! 
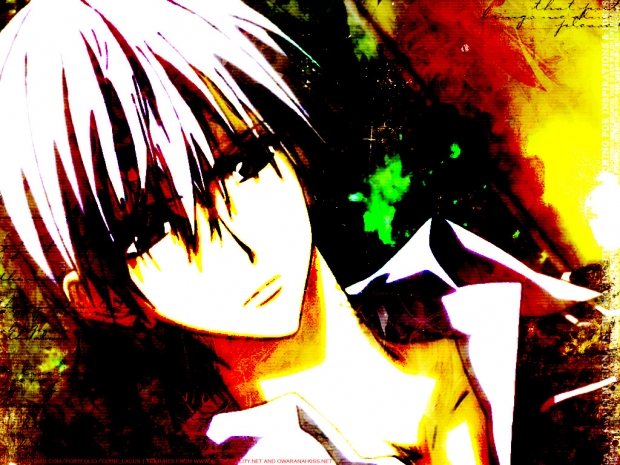
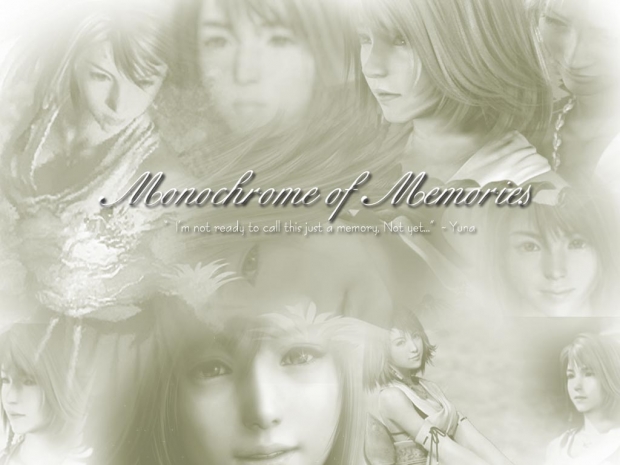
This is my creation. All I do was adding some textures and combining them by changing the blending mode...^^ still, I love the result!
Anyone knows this site? http://www.minitokyo.net
This site is, as far as I know, one of the most wonderful site of wallies... And that's because all the wallies are carefully judged before being put in the gallery... Plus, if it's not popular, it'll be deleted. What makes me frustrated is, my works never got accepted there ._. Sheesh...
well, I just submitted 2 wallies... I am trying hard.. Hopefully it'll get accepted...><
Anyone has an account there? Would you mind giving me advices to be accepted?
Thanks!! 

![]()
![]()
![]() well, making wallpapers isn't THAT difficult!
well, making wallpapers isn't THAT difficult! ![]()
![]()
![]()
![]()


