Sorry for not posting anything for a while. This time I want to explain some basic features of photoshop, yet those features are VERY important in making wallpapers. I often use these features.
1. Layers : layers may seem trivial, but what makes Photoshop easy for editing pictures is layer. When editing pictures, make sure you do everything in different layers. For example, create new layer when you want to use gradient. Create new layer again when you want to use brushes. Don't worry about ended up in lots of layers. You can always merge them using Ctrl + E whenever it is necessary.
2. Blending option : this one is located in Layer window. The default setting is Normal. Blending option is important for creating a totally different look on a wallpaper. Try combining textures by changing their blending option. First, place a texture or anything for background (leave the blending option to Normal). Then, add more textures on top of it and change their blending options. You will be surprised at how some textures can blend nicely.
3. Clone Stamp (Shortcut = S) : important to erase unwanted marks or scratch. This tool can be used to fix photographs as well. Simply hold Alt then click on the area that you wanted to use as a source. Then click on the area you want to change. This may take several practice to do it neatly, but it's really useful.
4. Selection Color : can be found from Image --> Adjustment. This is a simple way to change the color of certain part of the picture. For example, the character's clothes was red. Click on Selective Color then Colors = red. Change the Cyan, Magenta, Yellow, and Black parameter until you have the desired color.
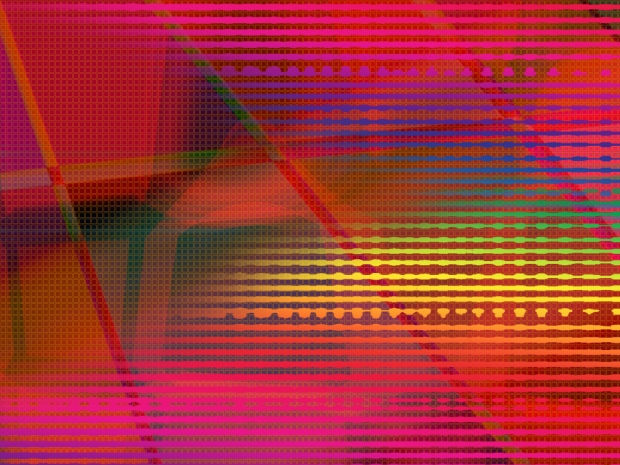
5. Wave : can be found in Filter --> Distort. Wave is a quick way to create an astonishing background. You can create waves or boxes. All you have to do is just playing with number of generators, amplitude, and wavelength. You can also change the type. First of all fill the layer with gradient, then use Wave. If you want to, you can create another layer and use another gradient. Use Wave again, then change the Blending Option.
6. Gaussian Blur : a trick to fix a low resolution picture. However, as this trick is simple, you cannot fix a very low resolution by this. First, duplicate an image layer with Ctrl + J, then change the blending option to screen (if it is too bright, undo the step and decrease the brightness of the picture). Then Filter --> Blur --> Gaussian Blur and make it around 7.5. You can use Ctrl + J repetitively if the result is still not clear enough.
7. Levels : can be found in Layer --> New Adjustment Layer. This is important when you want to color your manual drawing. Play with the white side to clear the outline, but not too much.
That's it for now... More to come!! ![]()
![]()
Any feedbacks and comments are welcomed ![]()

Background by me. This one was created using ONLY wave ^^ you can use this as long as you credit me.